Creating Custom Light Diffusers for Softer Illumination
Introduction
Harsh lighting can ruin the mood of a room or make your photos look overly bright and unnatural. That’s where light diffusers come in. Whether you’re a photographer, a home decorator, or just someone who loves cozy lighting, creating your own custom light diffusers can give you soft, even illumination without breaking the bank.
In this post, we’ll show you how to make affordable and effective light diffusers using simple materials, plus a few pro tips for achieving the perfect lighting effect.
What Is a Light Diffuser?
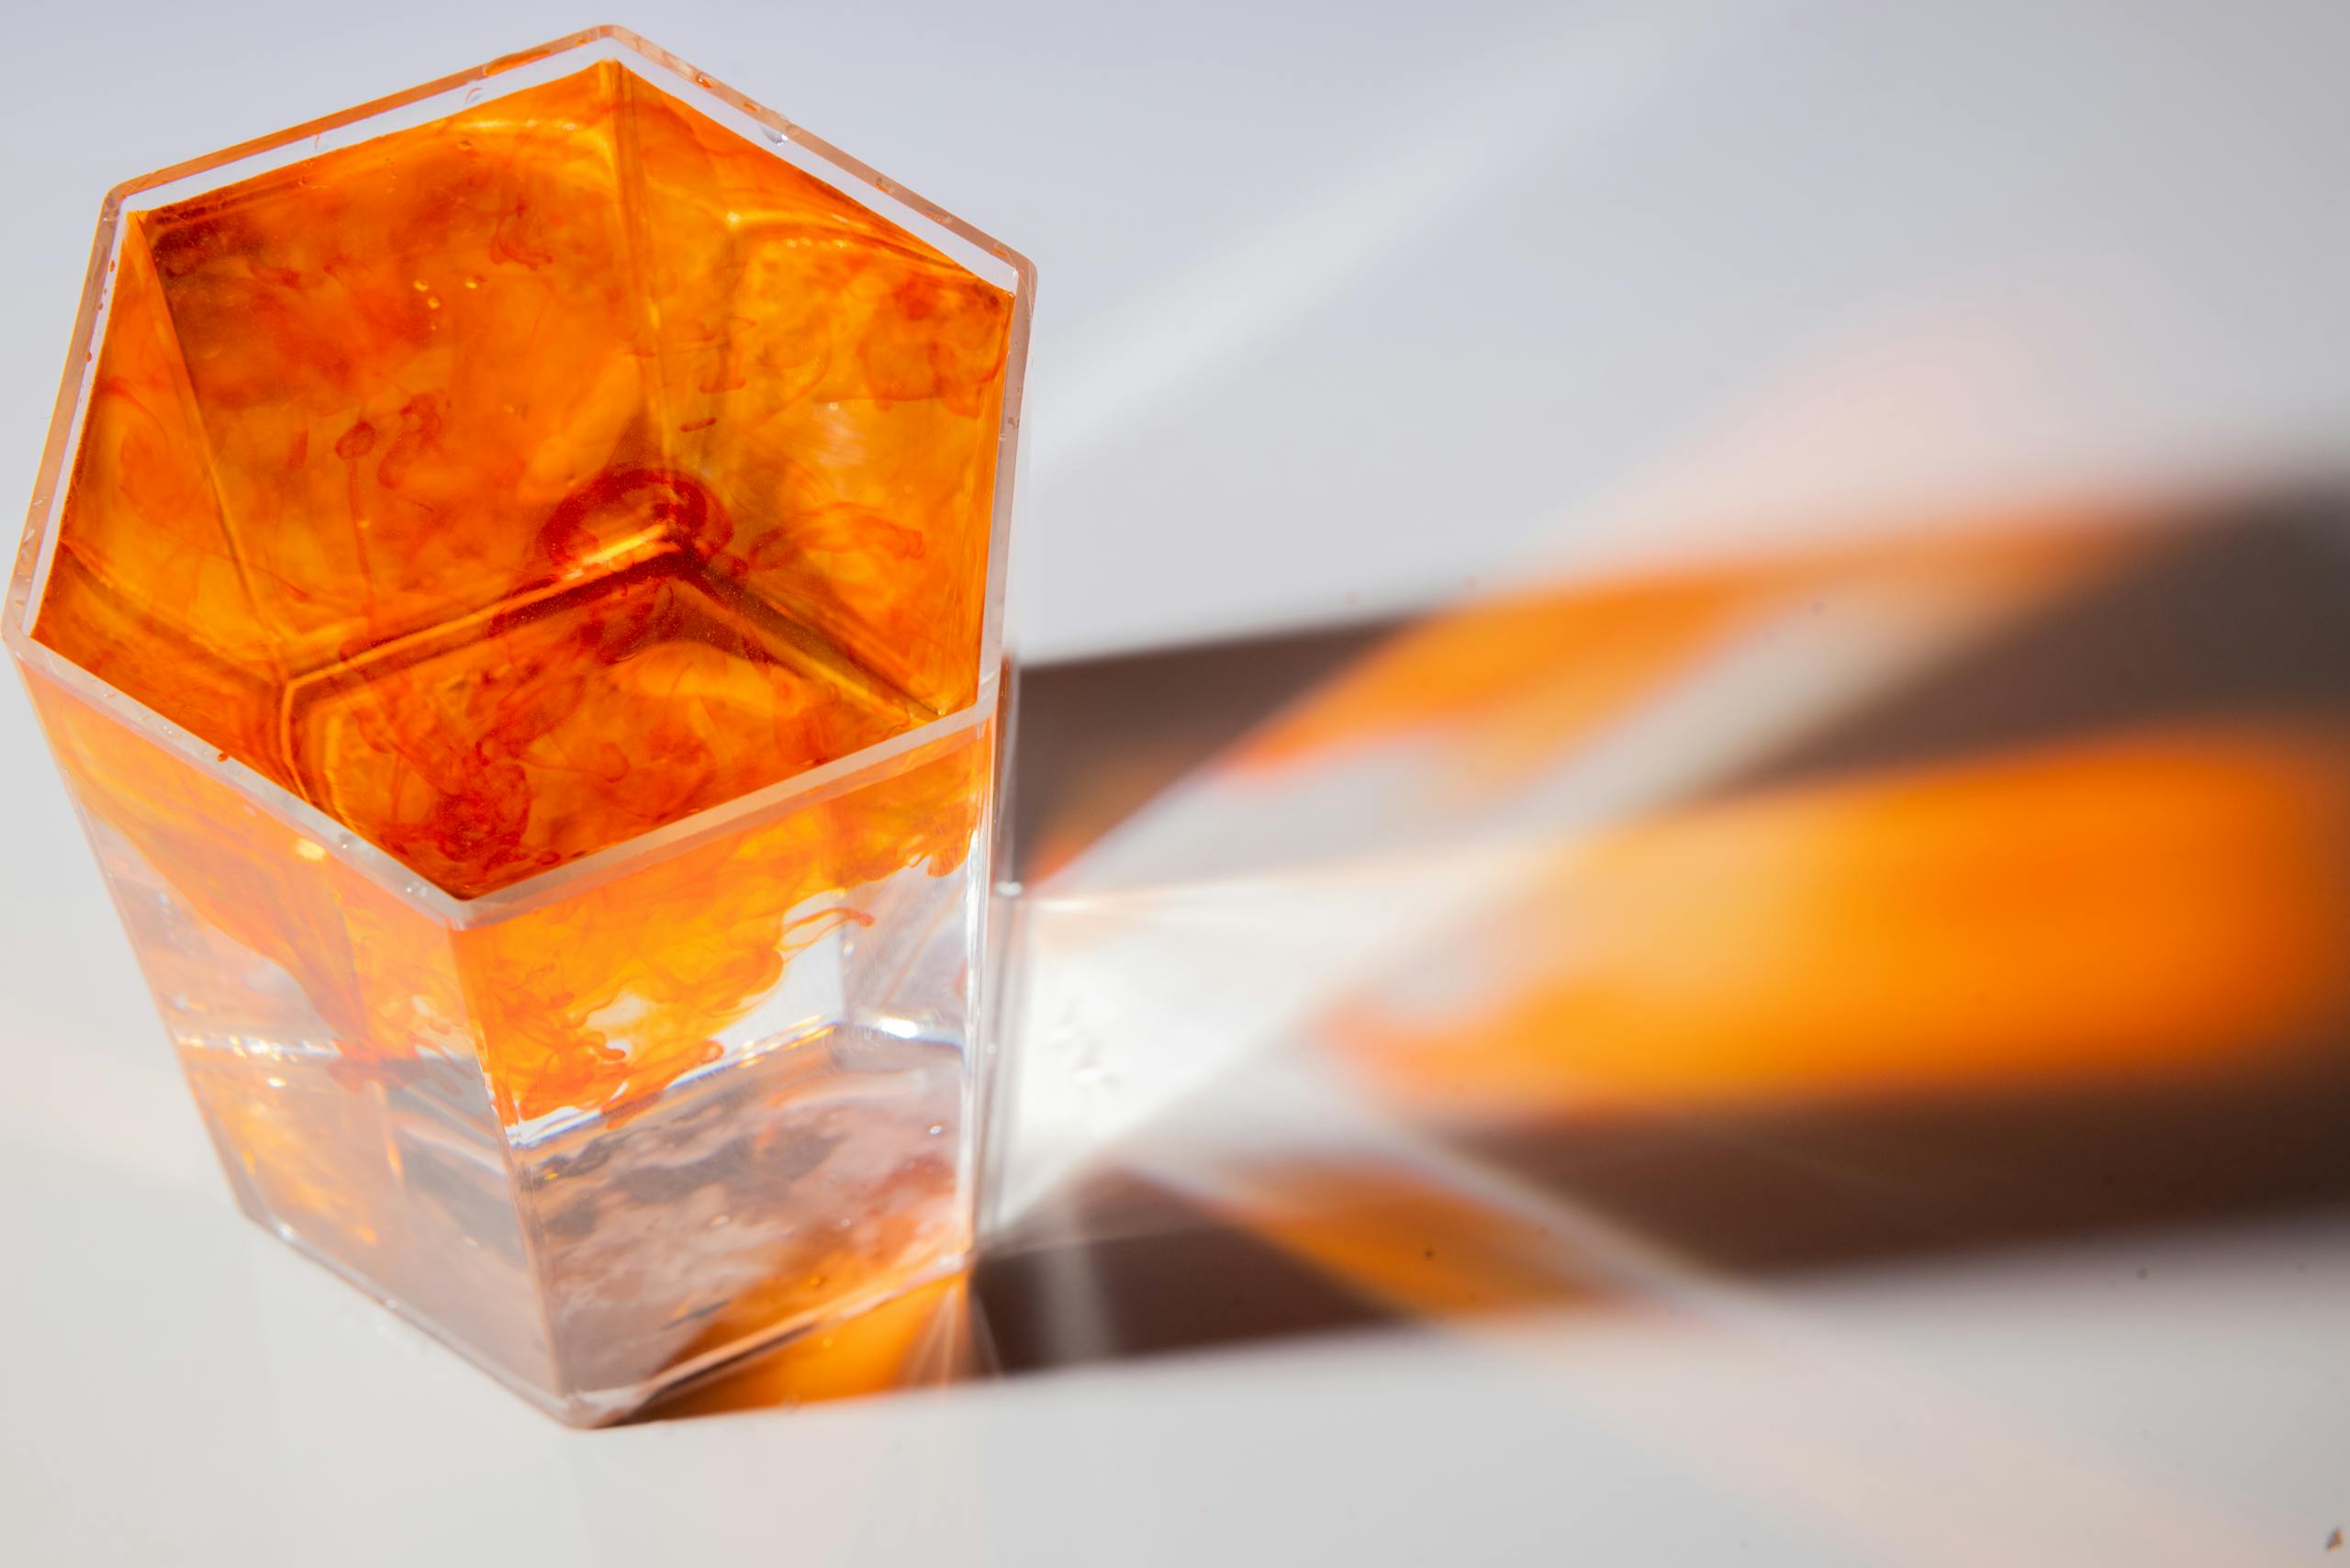
A light diffuser is a material or device that spreads light evenly, reducing glare and harsh shadows. Instead of a focused, direct beam, diffused light creates a smooth, soft glow — ideal for ambient lighting, photography, and videography setups.
Diffusers work by scattering light rays, balancing brightness and minimizing hot spots. Common examples include frosted glass, fabric panels, translucent plastic sheets, or even simple DIY materials like parchment paper.
Why Use a Custom Light Diffuser?
Custom light diffusers are not only cost-effective but also let you tailor the lighting to your exact needs. Here’s why you might want to create your own:
- Budget-Friendly: Store-bought diffusers can be pricey; DIY options cost a fraction.
- Custom Fit: Design diffusers that fit your lamp, LED panels, or lightbox perfectly.
- Creative Control: Choose how soft or bright you want your lighting to be.
- Eco-Friendly: Repurpose materials like plastic bottles or fabric to reduce waste.
Materials You Can Use
Here are a few easy-to-find materials that work well as light diffusers:
- Tracing paper or parchment paper: Great for softening LED lights.
- Frosted acrylic sheets: Durable and ideal for larger fixtures.
- White fabric (cotton or polyester): Works beautifully for photography setups.
- Translucent plastic containers: Excellent for DIY lamp shades or softboxes.
- Shower curtains: Surprisingly effective for diffusing bright studio lights.
Step-by-Step: DIY Light Diffuser
Step 1: Choose Your Light Source
Decide what you want to diffuse — a bulb, a lamp, or a photography light. The type and intensity of the source will influence your material choice.
Step 2: Select Your Diffusing Material
For small lamps, paper or fabric works fine. For photography lights, go for acrylic or a fabric frame.
Step 3: Cut and Shape
Measure the size of your light source and cut the diffuser material to fit snugly. Leave some space between the light and the diffuser to avoid overheating.
Step 4: Mount the Diffuser
Use clips, tape, or a frame to secure your diffuser in place. Make sure it doesn’t touch the bulb directly.
Step 5: Test and Adjust
Turn on your light and observe the effect. Adjust the distance or layers until you achieve the desired softness.
Pro Tips for Softer Illumination
- Layering: Stack two or more diffusing materials for ultra-soft lighting.
- Color Temperature: Use warm or cool bulbs depending on the ambiance you want.
- Distance Matters: The farther the diffuser from the light source, the softer the effect.
- Mix Natural and Artificial Light: Combining diffused sunlight with warm LEDs can create a balanced, realistic glow.
Creative Uses of Custom Diffusers
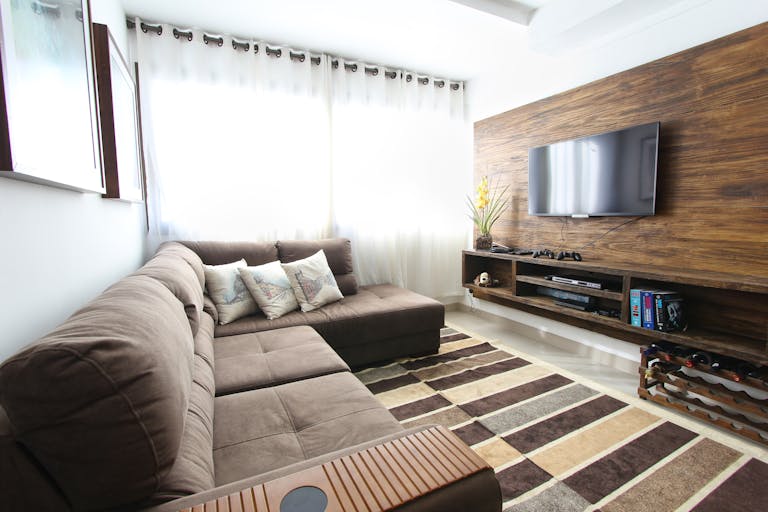
- Home Decor: Add soft diffused lighting in bedrooms or reading corners.
- Photography: Achieve studio-quality portraits with DIY light boxes.
- Videography: Eliminate harsh shadows for a more cinematic look.
- Product Shoots: Get professional lighting for small items using homemade setups.
Conclusion
Creating your own custom light diffusers is a simple yet powerful way to control lighting, enhance ambiance, and add a professional touch to any space or photo. With a bit of creativity and a few household materials, you can turn harsh light into a soft, flattering glow that transforms your environment.