
How to Fix or Replace a Broken Light Switch (Even with Multiple Controls)
A broken light switch can be more than just an inconvenience—it can be confusing, especially when the switch panel controls multiple light bulbs, fans, tube lights, and even a wall socket. If you’ve ever stared at a tangled set of wires behind a switchboard and wondered how to fix it, you’re not alone.
In this guide, we’ll walk you through step-by-step instructions on how to safely replace or repair a broken light switch, even when multiple devices are connected.
⚠️ Safety First: Important Precautions
Before you begin, always remember:
- Turn off the main power supply from your circuit breaker.
- Use a voltage tester to confirm that no electricity is running to the switchboard.
- Work in daylight or with a portable battery lamp so you don’t need electrical lighting while fixing.
- If you’re not confident, hire a licensed electrician—better safe than sorry.
? Tools and Materials You’ll Need
- New light switch (single-pole, two-way, or modular, depending on your setup)
- Screwdrivers (flathead + Phillips)
- Voltage tester or multimeter
- Electrical tape
- Wire stripper/cutter
- Wire nuts or insulated connectors
- Marker or masking tape (for labeling wires)
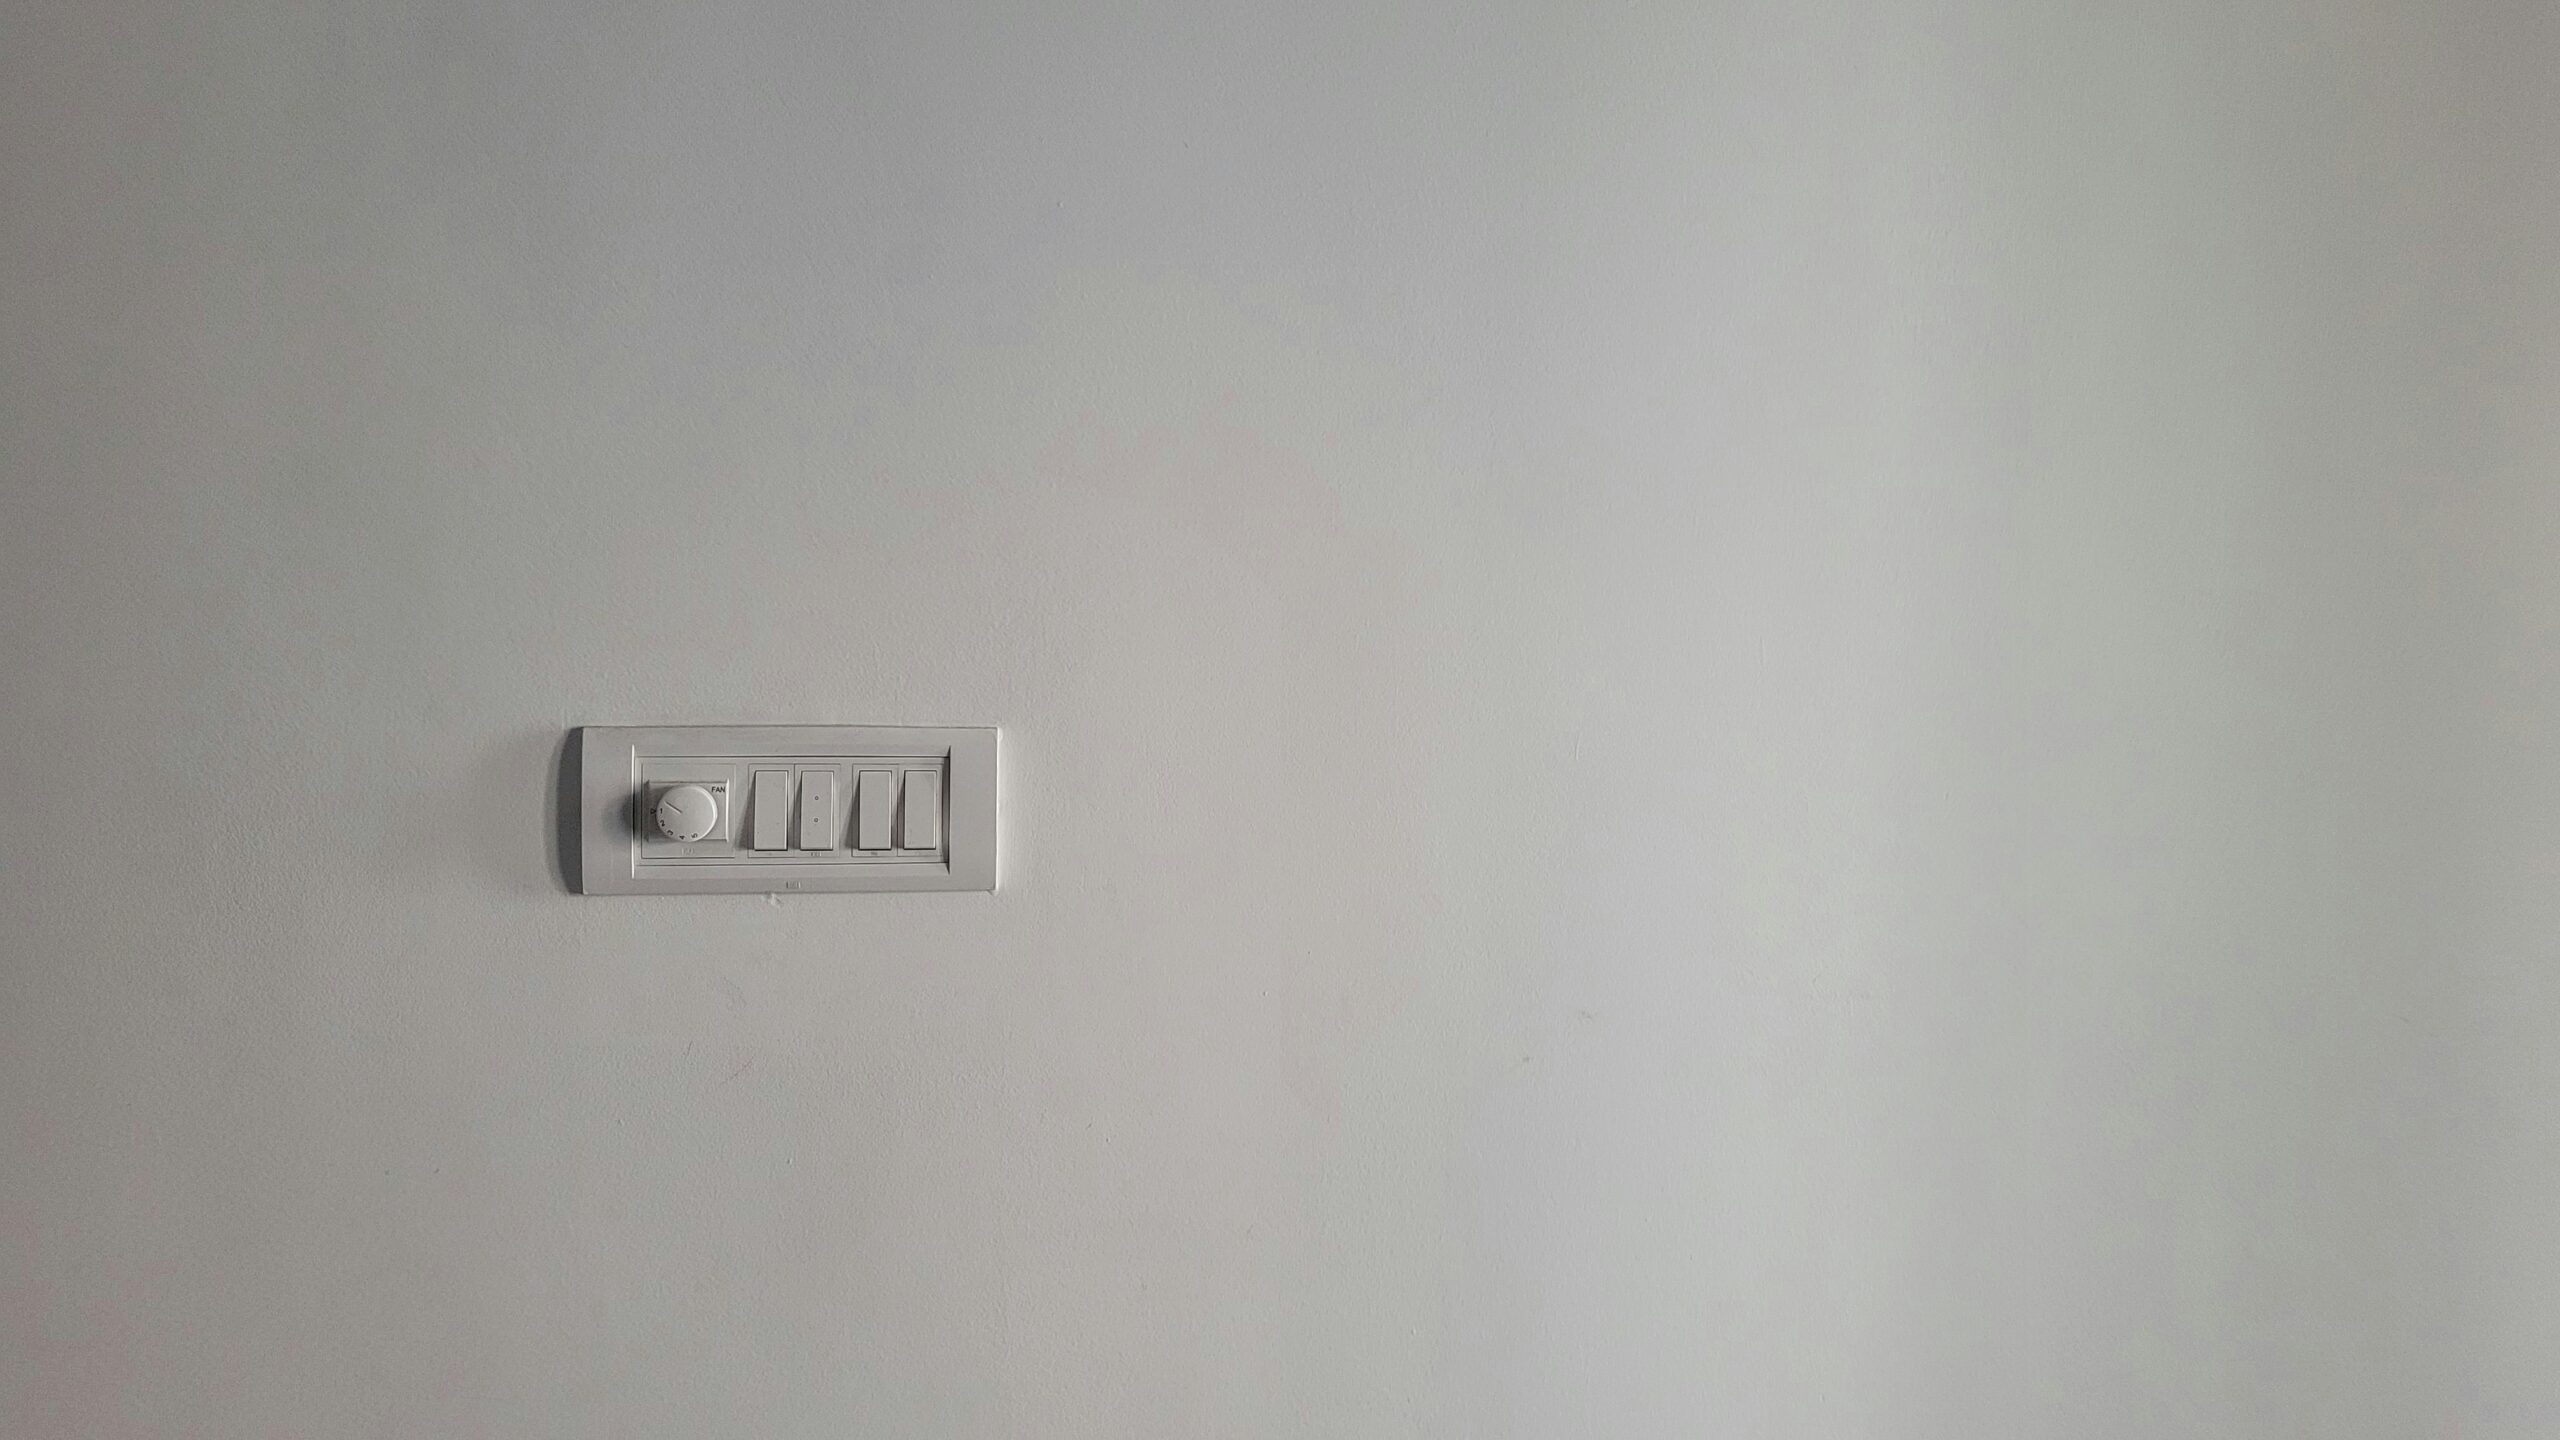
Step 1: Remove the Switch Plate
- Unscrew the faceplate/cover of the switchboard.
- Carefully remove the broken switch by loosening the screws.
- Pull the switch forward to expose the wires behind it.
? Tip: Take a photo of the wiring before disconnecting anything. This will help you reconnect wires correctly later.
Step 2: Identify the Wiring Setup
In a multi-switch panel, you’ll typically find:
- Live (phase) wire – usually red, brown, or black.
- Neutral wire – usually blue or black.
- Ground wire – green or yellow-green.
- Load wires – these go from the switch to the light bulbs, fans, or sockets.
⚡ Each device (bulb, fan, plug) will have its own load wire connected to the same live input. That’s why multiple switches can look so confusing—many wires are connected together.
Step 3: Disconnect the Broken Switch
- Use the voltage tester again to confirm the power is OFF.
- Loosen the terminal screws holding the wires in the broken switch.
- Carefully pull the wires free.
? If you’re unsure, label each wire with masking tape (e.g., “fan,” “light,” “socket”) before removing.
Step 4: Prepare the Wires
- Check the copper ends of the wires. If they are frayed or burnt, cut off the damaged part and strip about 1 cm of fresh copper.
- Twist the strands neatly so they fit securely into the new switch terminals.
Step 5: Install the New Switch
- Identify the common terminal (live) on the new switch—it’s usually marked COM or L.
- Insert the live wire into the common terminal.
- Insert the load wire (the one that powers the bulb, fan, or socket) into the other terminal marked OUT or with an arrow symbol.
- Tighten the screws firmly so the wires don’t slip out.
- Wrap electrical tape around the terminals for added safety.
? For multiple switches: The live wire is usually looped (jumped) across several switches. This means you’ll often see one live wire connected to multiple COM terminals. Do not disconnect this loop unless you’re replacing all switches together.
Step 6: Secure and Reassemble
- Push the switch back into the panel carefully, ensuring wires aren’t pinched.
- Screw the switch and faceplate back in place.
Step 7: Restore Power and Test
- Turn the power back on at the breaker.
- Test each switch individually: light bulbs, fans, and sockets should work properly.
- If one device doesn’t work, recheck the wire connections for that switch.
Common Issues & Fixes
- Spark or burning smell: A wire is loose. Switch off power and tighten connections.
- One switch doesn’t work: Likely a misconnected load wire. Check your photo/labels.
- Entire board not working: The live wire wasn’t connected properly to the common terminal.
Final Thoughts
Fixing a broken light switch can feel overwhelming when multiple devices are connected, but with patience, labeling, and safety precautions, it’s absolutely doable. Always double-check wiring connections, and if in doubt, call an electrician.
Upgrading to modular switches or smart switches is also a great long-term option for safer, cleaner, and more convenient home lighting.


