How to Make a Rustic Rope Light Fixture for Your Home
If you’re looking to add warmth, charm, and a touch of farmhouse style to your home, a rustic rope light fixture is the perfect DIY project. Not only is it budget-friendly, but it also creates a cozy ambiance and a conversation piece for your living room, dining area, or even your bedroom. In this guide, we’ll walk you through step-by-step instructions on how to make your own rope light fixture at home.
Why Choose a Rustic Rope Light Fixture?
Rustic décor is timeless. It brings natural textures, warmth, and character into any room. A rope light fixture combines industrial charm with farmhouse elegance, making it a versatile piece that fits into various interior styles such as coastal, boho, farmhouse, or even modern rustic.
Some benefits include:
- Affordability – DIY projects are often more cost-effective than store-bought designer fixtures.
- Customization – You can choose the rope type, bulb style, and hanging length to suit your space.
- Creativity – This project lets you design something truly unique.
Materials You’ll Need
Before getting started, gather the following items:
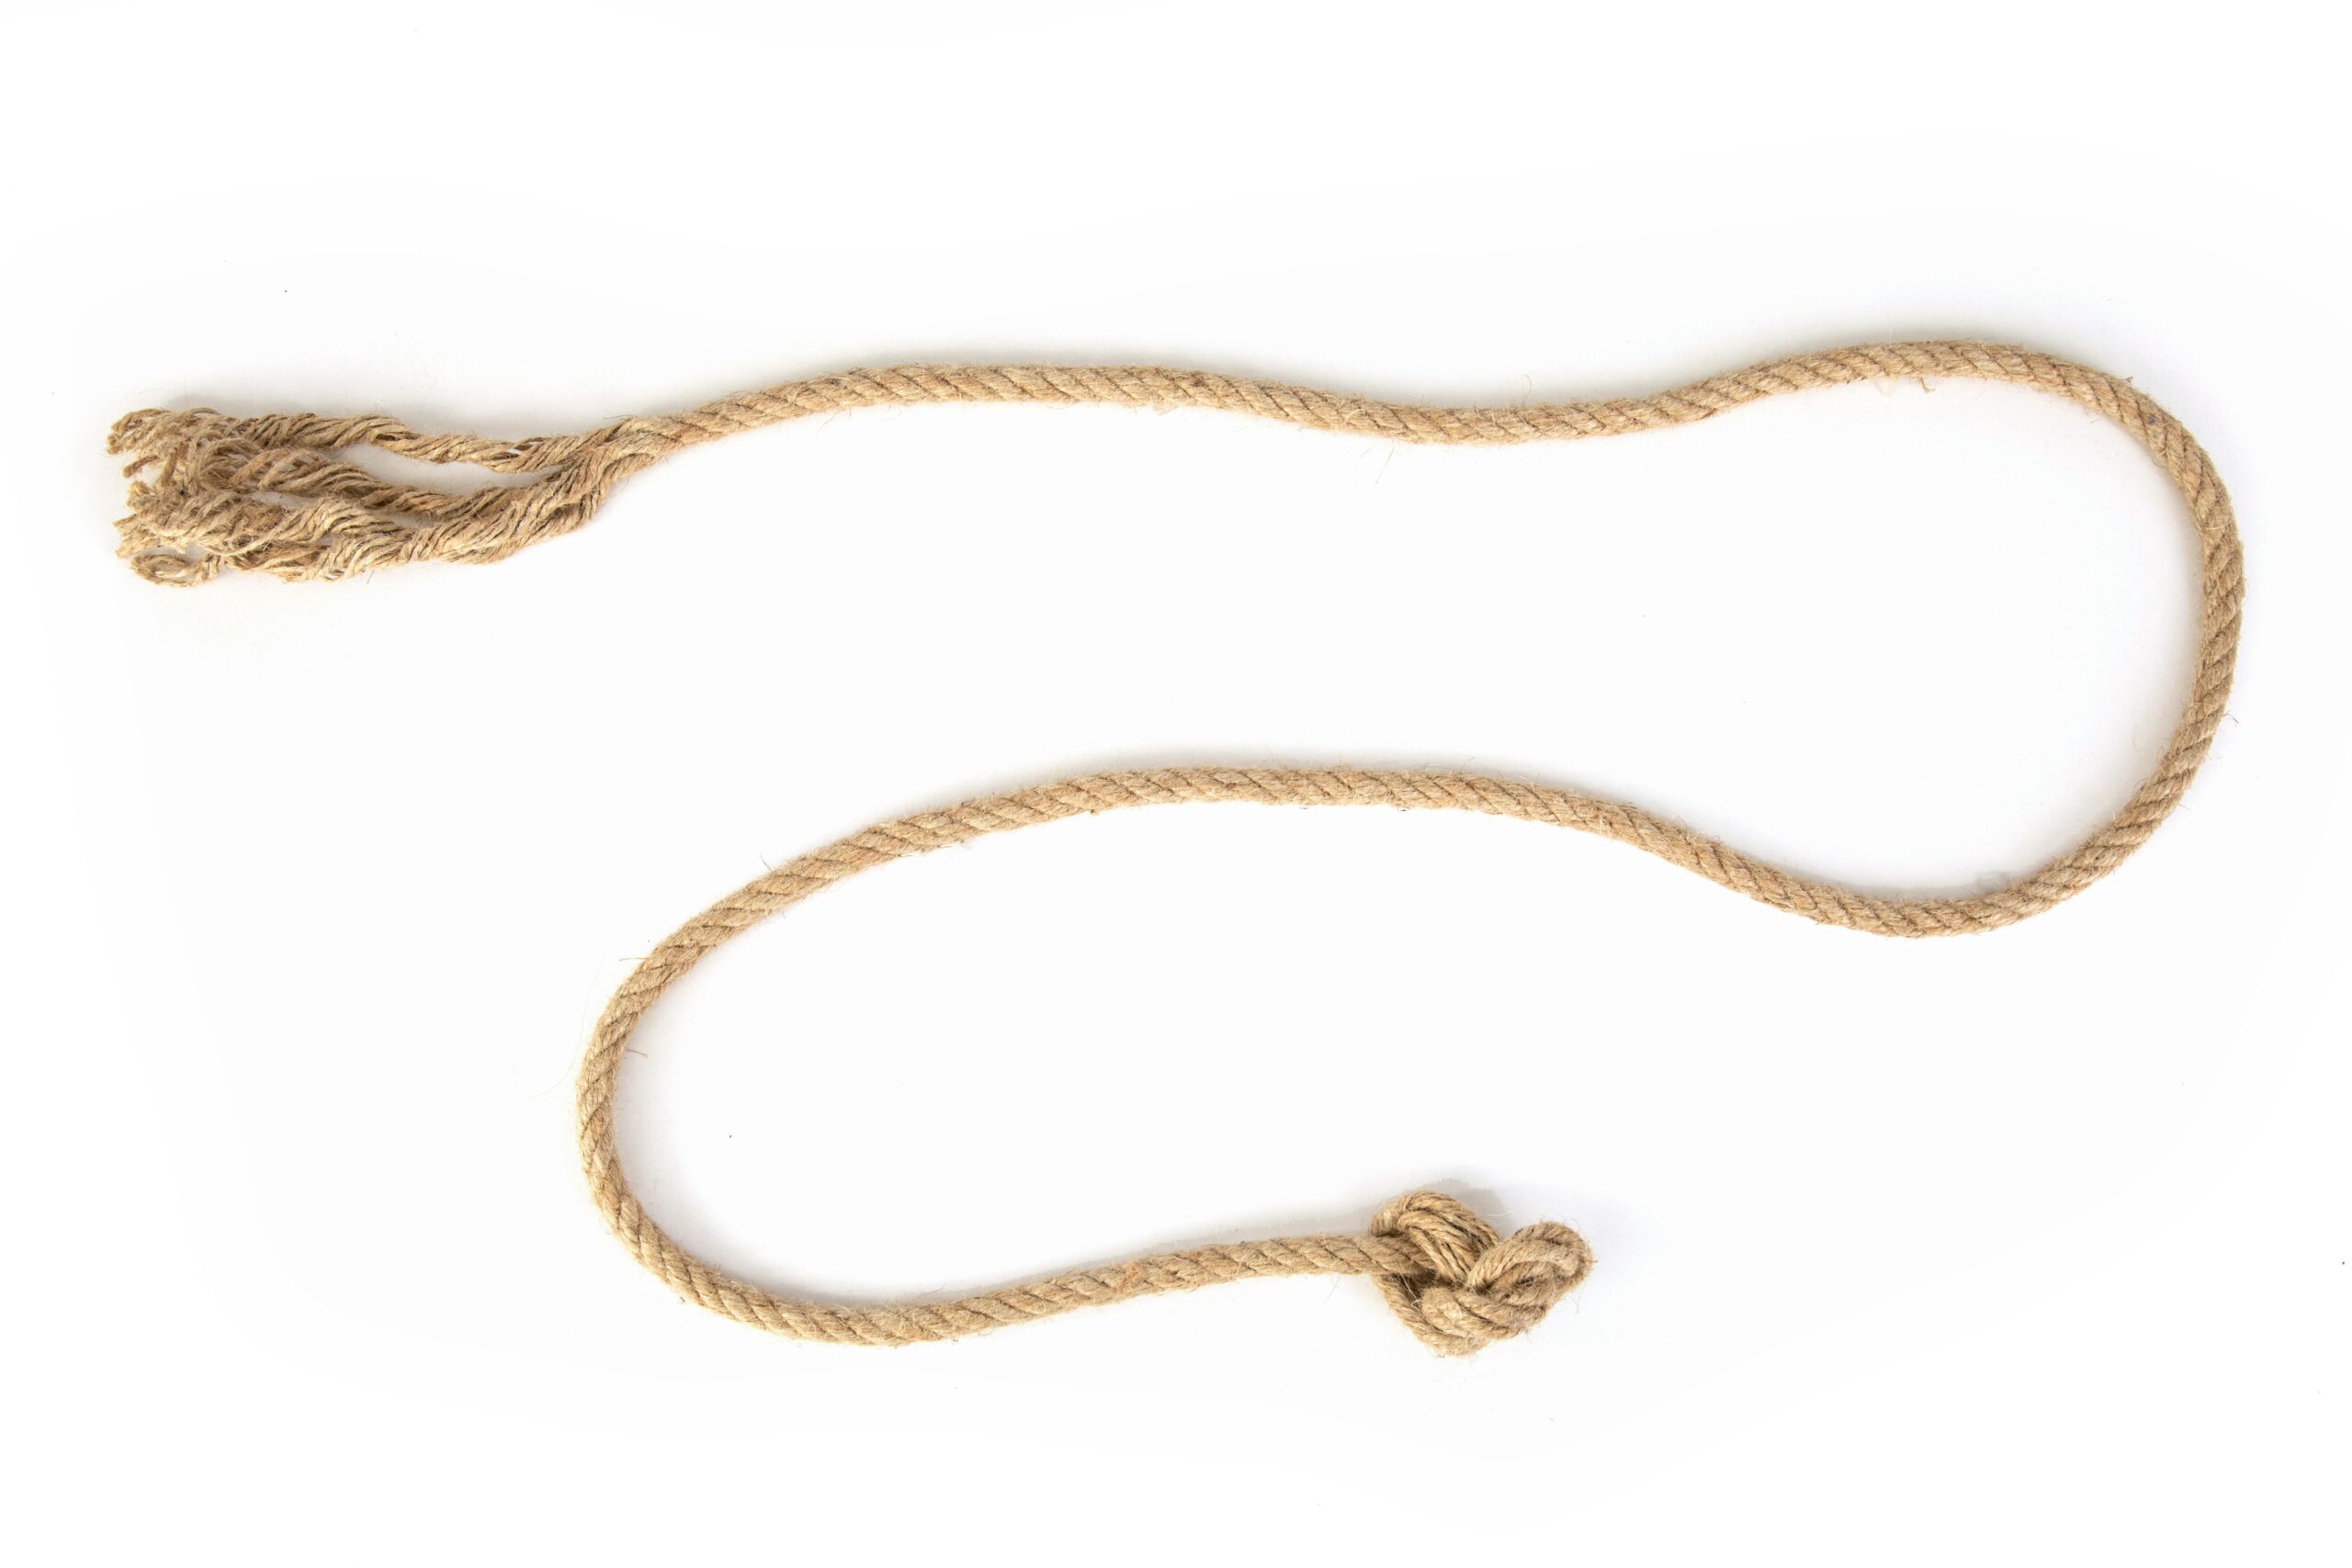
- Thick jute rope (length depends on your ceiling height and design)
- Light bulb socket with cord set
- Edison-style bulbs (or any bulb you prefer)
- Ceiling hook or mounting bracket
- Electrical tape and wire connectors
- Drill (if needed for mounting)
- Scissors or a utility knife
Step-by-Step Guide
1. Measure and Cut the Rope
Decide how long you want your fixture to hang. Measure the rope accordingly, leaving extra length for knots or loops.
2. Thread the Cord Through the Rope
Carefully insert the light cord through the rope. If the rope is too thick, you can split the strands slightly and hollow out a channel for the cord.
3. Secure the Light Socket
Attach the light bulb socket to the cord, following the manufacturer’s instructions. Use electrical tape and connectors to ensure everything is safe and secure.
4. Knot the Rope for Style
Add knots, twists, or loops along the rope to enhance the rustic look. You can create a simple hanging design or a more elaborate twisted fixture, depending on your preference.
5. Install the Ceiling Hook
Drill and attach a sturdy ceiling hook or mounting bracket where you’d like to hang your fixture. Make sure it can hold the weight of the rope and bulb.
6. Hang and Test
Hang the rope light fixture from the hook, screw in your chosen bulb, and plug it in (or hardwire it, if you’re comfortable and experienced with electrical work). Test to ensure everything is working safely.
Styling Tips for Your Rope Light Fixture
- Use Edison bulbs for a warm vintage glow.
- Hang multiple rope lights at different lengths for a chandelier effect.
- Combine with reclaimed wood beams or metal accents for a farmhouse-industrial vibe.
- Place it above a dining table or kitchen island for the perfect rustic centerpiece.
Safety Reminder
Always handle electrical components with care. If you’re unsure about wiring or installation, consult a licensed electrician to ensure safety.
Final Thoughts
Making a rustic rope light fixture is a simple and rewarding DIY project that adds personality and charm to your home. With just a few materials and some creativity, you can transform your space into a warm and inviting haven.
Why buy expensive designer lighting when you can make your own unique fixture that reflects your style? Give this DIY a try and bring rustic elegance into your home today!