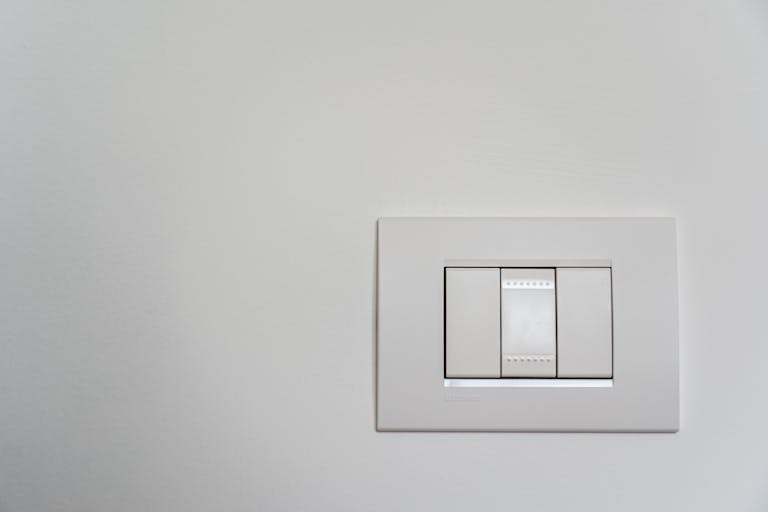
A Beginner’s Guide to Setting Up Your First Smart Switch (No Neutral Wire Required)
Smart homes are no longer just for tech enthusiasts — they’re becoming a part of everyday living. But if you live in an older Indian home, chances are your electrical wiring doesn’t include a neutral wire, which most smart switches require. The good news? There are no-neutral smart switches now available in India that let you upgrade your traditional switches without rewiring your walls.
In this guide, we’ll walk you through how to choose, install, and set up a no-neutral smart switch — with a focus on one of the most popular models available on Amazon India.
🧠 Understanding “No Neutral Wire” Smart Switches
Most traditional smart switches need a neutral wire to complete the electrical circuit, ensuring consistent power for the Wi-Fi module even when the switch is off. Unfortunately, most Indian homes built before 2010 don’t include this wiring.
That’s where no-neutral smart switches come in. These switches use advanced circuitry (like a small capacitor or power-stealing technology) to draw minimal power directly from the live wire — making them perfect for older homes.
🏆 Recommended Product: HiWiFi 1-Gang No Neutral Smart Switch (Wi-Fi + Alexa/Google Support)
Available on Amazon India, this switch stands out for its simplicity, sleek design, and reliable performance.
Key Features:
- ✅ Works with Alexa, Google Assistant, and Smart Life/Tuya app
- ✅ Requires no neutral wire
- ✅ Supports manual touch control and mobile app control
- ✅ Compatible with LED, CFL, and fan loads
- ✅ Simple retrofitting into existing switchboards
Price range: ₹1,500 – ₹2,000 (as of 2025)
⚙️ What You’ll Need
Before you start installation, prepare the following:
- HiWiFi (or similar brand) no-neutral smart switch
- A screwdriver and insulated pliers
- Smartphone with the Smart Life app installed
- Wi-Fi connection (2.4 GHz only — not 5 GHz)
If you’re uncomfortable working with electricity, it’s always wise to get a licensed electrician to help with installation.
🧩 Step-by-Step Installation Guide
Step 1: Turn Off the Power
Locate your home’s main switchboard and turn off the power supply to the switch you’ll be replacing. Safety first!
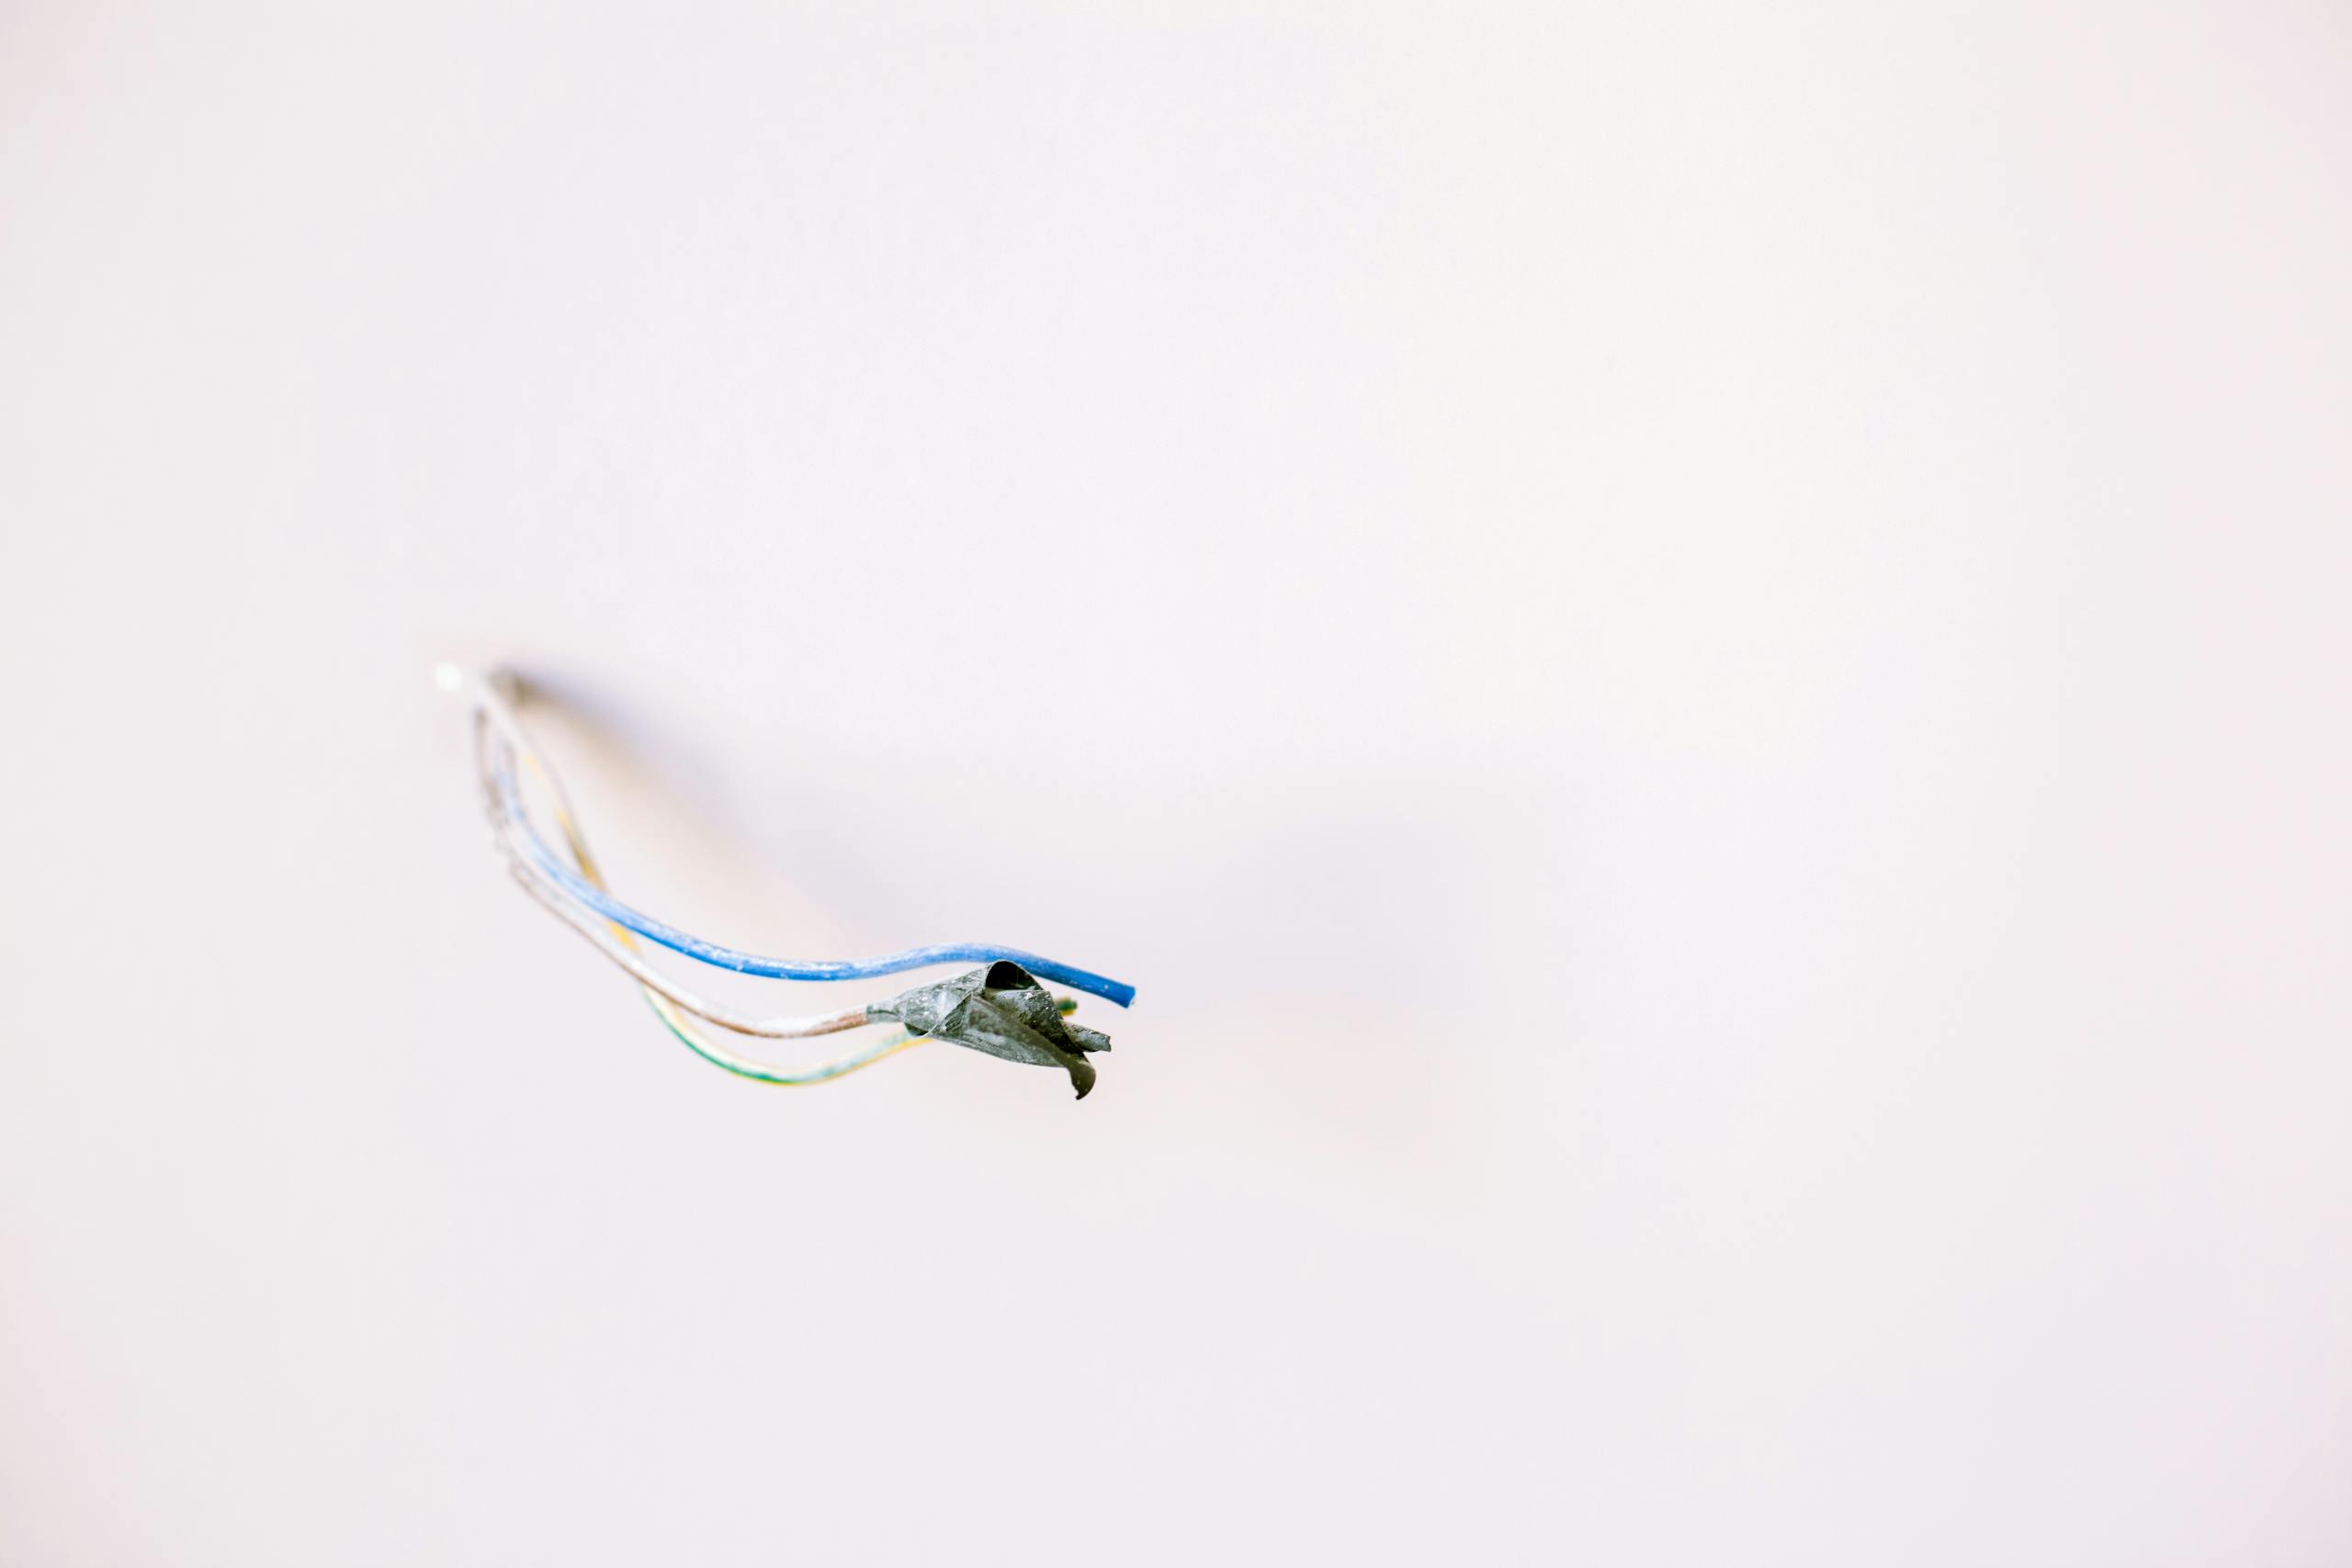
Step 2: Remove the Old Switch
Unscrew the existing switch plate carefully. Identify the live (L) and load (L1) wires. (Older setups will likely have only these two wires.)
Step 3: Connect the Wires to the Smart Switch
Attach the live wire to the “L” terminal and the load wire to “L1.” Tighten the screws securely.
Step 4: Mount the Switch Back
Fit the new smart switch into your existing wall box and screw it in. Restore power from the main switchboard.
Step 5: Pair with the Smart Life App
- Open the Smart Life app
- Tap “+” → “Add Device” → “Switch (Wi-Fi)”
- Hold the switch button for 5 seconds until the LED indicator blinks
- Connect to your 2.4 GHz Wi-Fi and follow on-screen instructions
Once added, you can rename the switch (e.g., “Bedroom Light”) and control it from anywhere.
💬 Bonus: Voice Control Setup
- Alexa: Enable the “Smart Life” skill in the Alexa app → Link account → Discover devices
- Google Assistant: Open Google Home → Tap “+” → “Set up device” → “Works with Google” → Link Smart Life account
Now you can say:
“Alexa, turn on the bedroom light.”
or
“Hey Google, switch off the fan.”
🔋 Troubleshooting Tips
- If your LED light flickers after installation, use the included capacitor (connect it between load and neutral at the light holder).
- Ensure your Wi-Fi network is 2.4 GHz only.
- If pairing fails, reset the switch by holding the touch button for 10 seconds.
🌟 Why It’s Worth It
Installing a no-neutral smart switch is one of the easiest ways to modernize your home — without messy rewiring or expensive electricians.
You’ll enjoy:
- Remote control from your phone
- Voice commands via Alexa or Google
- Smart scheduling and automation
- A cleaner, more elegant wall interface
For homeowners in older Indian houses, this simple upgrade can bring your home closer to true smart living — without breaking the bank.